Installing Wagtail
I already have python and pip installed on my Windows computer. I can open the command prompt and type
python --version or pip --version
to discover which version of them I have, right now it is version 3.10.
To create a directory folder I type:
mkdir DIRECTORY NAME - ( e.g. packages )
To go into the folder just created use cd
cd packages
Next, set up a virtual environment
py -m venv FOLDER NAME
e.g. env or venv or .venv - I have started using the same folder name - env
Then activate the environment using
env/Scripts/activate (env/bin/activate on Mac)
now you are in your virtual environment (make sure you see (env)…. )
Next, install Wagtail
pip install wagtail
Use pip install wagtail ==5.1.0 to install a specific version. I tend to stick with the latest version.
If you get a message show up in yellow saying your pip version is old you can upgrade pip. The message will tell you have to do that and it is usually
python.exe -m pip install --upgrade pip
Using
pip show wagtail
will show the details of what you have installed.
Now we can start a new wagtail project
wagtail start NAME_OF_PROJECT . (that fullstop is important)
- folders will be created with this name so chose carefully
e.g. wagtail start packages .
I have gotten into the habit of calling the first folder and my project the same name but they can be different.
Then install all the required files
pip install -r requirements.txt
Set up the database and schemas needed to run wagtail
python manage.py migrate
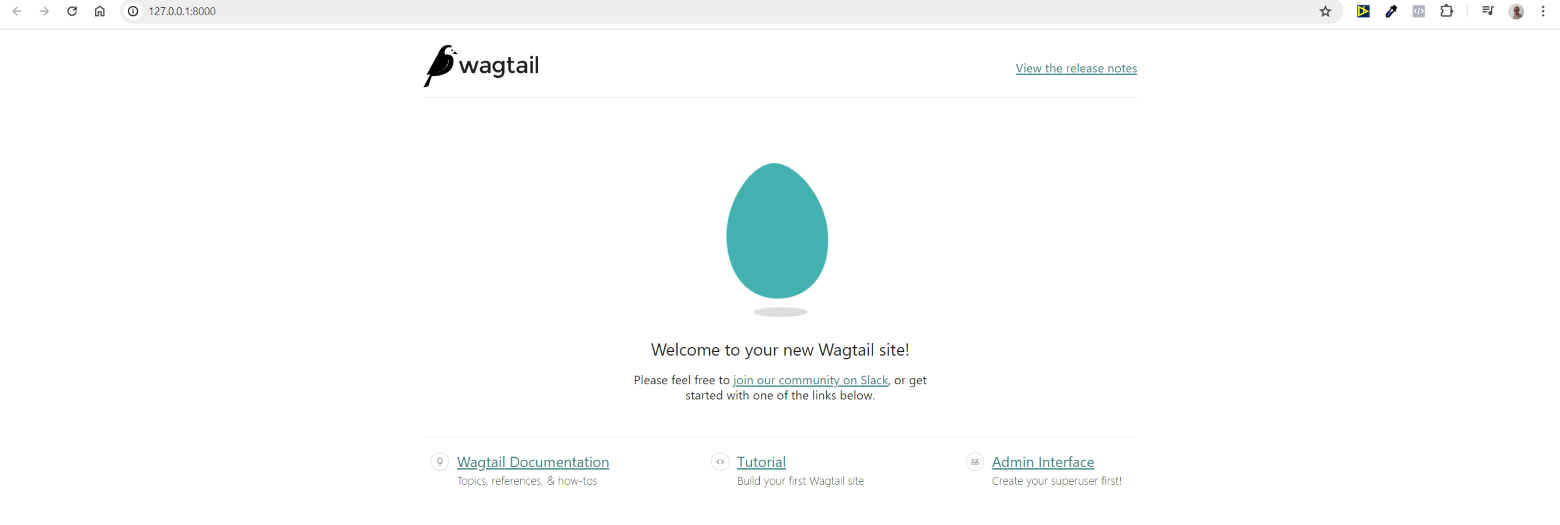
Type manage.py run server and click on the server link http://127.0.0.1:8000
This takes you to the default Wagtail page and your site is up
Using ctrl + c will let you quit the server
Next step is to create a SUPERUSER
python manage.py createsuperuser
username
email address
password then confirm password.
Once successful you can go to link http://127.0.0.1:8000/admin and log into the admin area.
That's it. Wagtail is up and running.
Then open up visual studio code. Select open folder and open the new project folder you just created.
Activate your virtual environment and you are good to go.
To deactivate your virtual environment at any time you can just type deactivate in the terminal and the (env) will disappear and you will be in your project.
After this I then set the project up at GitHub and connect GitHub with the project in visual studio code.
Thanks for sharing:


