Structure matters to me, and not just in the backend, but in how things look and feel on the page. Tailwind CSS v4 gave me a chance to rethink how I build frontends inside Django.
Moving from version 3 to 4 has not been easy. Most of what is on the page has to be rewritten (thank you AI).
With TailwindCSS version 4 there is no more separate config file. The theming lives in CSS now. In this post, I walk through how I use my brand-color palette with CSS variables, and how I structure templates and reusable components so things stay maintainable.
This is how I keep visual order in the chaos of HTML and styles.
What’s New in Tailwind v4 (CSS-First)
Tailwind v4 changes everything about configuration: there’s no longer a tailwind.config.js file. Instead, all your customisation happens inside the CSS itself.
You import Tailwind, define your theme variables with @theme, and extend typography using @layer base. It feels lighter, cleaner, and more transparent, especially for Django developers like me who prefer logic in one place.
The content detection is now fully automatic, so you don’t have to list your templates or JS paths manually. Tailwind scans your files and handles it. The result is a simpler, CSS-first workflow that works perfectly inside Django projects.
My Tailwind v4 Palette
Below is my entire Tailwind theme, written directly into input.css. This replaces the old JavaScript configuration file. Everything is defined with CSS variables, making it easy to update colors without touching multiple files.
@import "tailwindcss";
/* Global typography and link defaults */
@layer base {
h1 {
@apply text-4xl font-bold text-[--color-brand-primary];
}
h2 {
@apply text-3xl font-semibold text-[--color-brand-primary];
}
p {
@apply text-lg text-[--color-font-main] leading-relaxed;
}
a {
@apply text-[--color-brand-secondary] hover:text-[--color-brand-accent] transition-colors; } } /* Tailwind v4 theme color variables */
@theme {
/* Core brand palette */
--color-brand-primary: #227c81; /* teal-green */
--color-brand-secondary: #606060; /* muted gray */
--color-brand-accent: #4974a5; /* blue-gray accent */
--color-brand-dark: #004040; /* dark teal */
--color-brand-light: #f8fafc; /* soft light background */
/* Font */
--color-font-main: #222222; /* primary text */
I also added an extended palette for badges and alerts. I can use any of these colors directly in my templates:
- bg-[color:var(--color-badge-rose)] text-[color:var(--color-font-main)]
- bg-[color:var(--color-badge-mint)] text-[color:var(--color-font-main)]
- bg-[color:var(--color-badge-yellow)] text-[color:var(--color-font-main)]
- bg-[color:var(--color-badge-red-light)] text-[color:var(--color-badge-red-text)]
Everything is controlled from one file. It feels like a small design system. Simple but powerful.
Static File Setup in Django
My static folder stays tidy. Inside static/css/, I keep two files:
- input.css - the file shown above, where Tailwind is imported and customized.
- output.css - the compiled file generated automatically by Tailwind.
To build and watch for changes as I work, I run:
npm run dev
Then in Django templates I load the compiled stylesheet:
<link rel="stylesheet" href="{% static 'css/output.css' %}">
That’s all it takes. No configuration file or path lists, just clean integration.
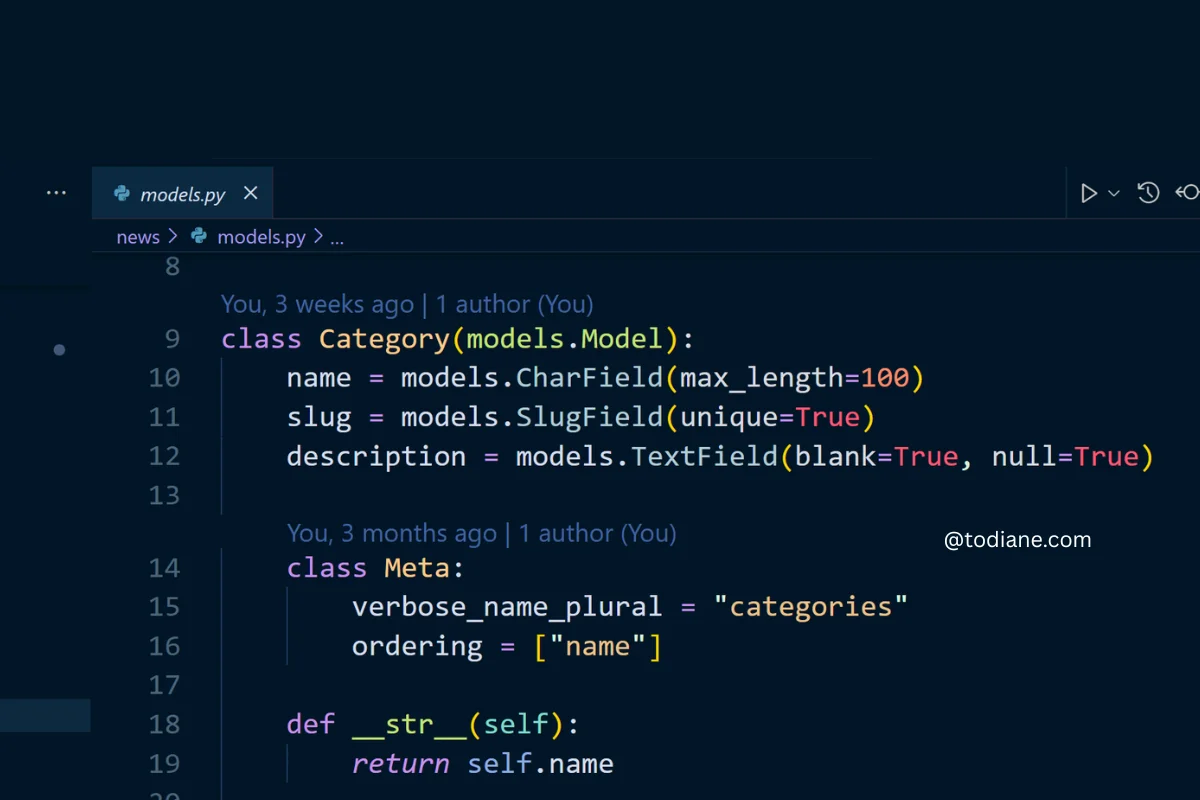
Template Structure and Includes
My template organisation hasn’t changed much, but how I apply colours has. With variables now handling theme consistency, I can safely use [color:var(--...)] classes everywhere.
<!DOCTYPE html>
<html lang="en">
<head>
<meta charset="UTF-8">
<meta name="viewport" content="width=device-width, initial-scale=1.0">
<title>{% block title %}Django Backend Developer{% endblock %}</title>
<link rel="stylesheet" href="{% static 'css/output.css' %}">
</head>
<body class="bg-[color:var(--color-brand-light)] text-[color:var(--color-font-main)]">
{% include 'includes/navbar.html' %}
<main>
{% block content %}{% endblock %}
</main>
{% include 'includes/footer.html' %}
</body>
</html>
In components like the navbar or footer, I rely entirely on variables for colour. I don’t use hard-coded hex values anywhere anymore or bg-primary. If I want to change my brand’s accent color, I only update it in @theme - everything else follows automatically.
Reusable Components with Variables
Whenever I catch myself repeating the same pattern, I turn it into an include. Tailwind’s variable system makes it easy to design once and reuse everywhere. Here’s a simple badge component:
<!-- templates/includes/badge.html -->
<span class="inline-block px-2 py-0.5 rounded-full bg-[color:var(--color-badge-rose)] text-[color:var(--color-font-main)] text-sm"> {{ text }} </span>
Then I include it anywhere with:
{% include "includes/badge.html" with text="SALE" %}
Want to change the badge tone? I just swap --color-badge-rose for --color-badge-mint or --color-badge-yellow - no inline styling, no duplicated CSS.
Layout, Spacing, and Grids
Tailwind’s spacing and layout utilities remain the same, which means I can combine them naturally with variable-based colors. My sections usually look like this:
<section class="max-w-5xl mx-auto mt-12 mb-16 px-4 space-y-8">
<h2 class="text-3xl font-semibold text-[color:var(--color-brand-primary)]">My Projects</h2> <div class="grid md:grid-cols-3 gap-8">
{% for project in projects %}
<article class="bg-[color:var(--color-brand-light)] p-4 rounded-lg shadow hover:shadow-md transition">
<h3 class="text-xl font-bold text-[color:var(--color-brand-secondary)]">{{ project.title }}</h3>
<p class="mt-2 text-[color:var(--color-font-main)]"> {{ project.description|truncatewords:25 }} </p> </article>
{% endfor %}
</div>
</section>
The look stays consistent across the majority of my apps - soft backgrounds, clear headings, plenty of space to breathe. Tailwind’s v4 syntax gives me all the flexibility I need without ever touching a config file.
What I’ve Learned
- CSS is now the single source of truth. The @theme directive replaces your JS config, and once you get used to it, it feels simpler.
- Variables keep everything consistent. Updating one value cascades through the whole site — no more chasing colors.
- Auto content detection works perfectly. Tailwind picks up all your Django templates automatically.
- Readable class names matter. Use semantic variable names like --color-brand-primary instead of random hues. It makes your HTML easier to maintain.
Reflections
Tailwind v4’s CSS-first approach made me rethink how I handle design in Django. Instead of juggling multiple configuration files, I now keep everything visual in one place. My theme lives in CSS. My components live in includes. My HTML is clean, and my color palette is consistent across every app.
It feels calmer to work this way, structured, logical and simple to update. That’s what I like about Tailwind v4. It lets me build cleanly, design confidently, and keep every detail in its right place.
Summary
Here's a summary of this article written out in the style of frequently asked questions.
What is the biggest change in Tailwind CSS v4?
The biggest change in Tailwind CSS v4 is that configuration now happens directly in your CSS file, not in a separate JavaScript file. You use @theme to define color variables, fonts, and breakpoints, and @layer base to style elements like headings and links. Tailwind automatically scans your files for classes, so you no longer need a content list. This shift makes theming more visual and easier to maintain.
Do I still need a tailwind.config.js file with version 4?
No, you do not need a tailwind.config.js file in Tailwind v4. The framework now uses a CSS-first approach, allowing all customization to live inside your main CSS file. You can define theme colors, typography, and spacing directly with @theme and @layer directives. This simplification removes the need for extra configuration files, making your setup more lightweight and easier to read.
How do I add my own color palette in Tailwind v4?
To add your own color palette in Tailwind v4, you simply define variables inside an @theme block in your CSS. For example, you might declare --color-brand-primary or --color-font-main with specific hex values. These variables can then be used in your templates through classes like text-[color:var(--color-brand-primary)] or bg-[color:var(--color-brand-light)]. This approach gives you full control of your design system in one file.
How does auto content detection work in Tailwind v4?
Tailwind v4 automatically detects all the files in your project that contain class names — including Django templates, JavaScript, and HTML files. You no longer have to manually define content paths. This means the framework intelligently scans your code and purges unused styles during build time. It’s a major improvement that simplifies setup and reduces the chance of missing template directories, which was common in earlier versions of Tailwind.
How can I migrate from Tailwind v3 to v4 in my Django project?
Migrating from Tailwind v3 to v4 in Django mainly involves deleting your tailwind.config.js file and moving any theme or color definitions into your main CSS file using the @theme directive. Remove old content and extend sections, since Tailwind now handles these automatically. After that, rebuild your CSS with the new Tailwind CLI and update your templates to use [color:var(--...)] classes instead of older color names.
Why use CSS variables instead of Tailwind color names?
CSS variables offer flexibility and brand consistency that static Tailwind color names cannot. By defining variables such as --color-brand-primary, you can apply the same theme across multiple projects or easily switch color schemes without touching HTML. They also allow better design system management, especially for larger sites. Tailwind v4’s integration with variables makes this approach seamless and modern, giving you control over both dark and light themes from one central place.
Thanks for sharing:
